Understanding how vCenter and Aria Orchestrator APIs work can provide valuable insights into the inner workings of these tools. In this blog post, we'll explore how to use vRO to set a desired ESXi image version for a cluster. This hands-on approach not only simplifies cluster management but also highlights the power of automation in VMware environments. Let’s dive into the steps to streamline your ESXi cluster updates with vRO.
General goals:
- Programmatically set a new cluster, desired ESXi image.
The use case:
- Make sure all newly created cluster has the same ESXi image baseline.
The solution
This task might seem straightforward, but it comes with a few nuances that require attention. Let’s dive in.
Configure Desired Software Specification
To start, we need to initialize a new instance of the VcDesiredSoftwareSpec class. This class is essential for configuring software versions for the cluster. For its baseImageSpec property, we must initialize another class, VcDesiredSoftwareSpecBaseImageSpec, and specify the desired ESXi image version as a string.
var vcDesiredSoftwareSpec = new VcDesiredSoftwareSpec();
vcDesiredSoftwareSpec.baseImageSpec = new VcDesiredSoftwareSpecBaseImageSpec();
vcDesiredSoftwareSpec.baseImageSpec.version = imageVersion;
Configure Cluster Specification
The next step is to initialize a new cluster specification using the VcClusterConfigSpecEx class. Within this class, assign the previously configured vcDesiredSoftwareSpec to the desiredSoftwareSpec property.
var vcClusterConfigSpecEx = new VcClusterConfigSpecEx();
vcClusterConfigSpecEx.desiredSoftwareSpec = vcDesiredSoftwareSpec;
Create a new cluster with the specified configuration
The final step is to apply the configuration using the createClusterEx method. Simply provide the new cluster name along with the configured specification to complete the process.
hostFolder.createClusterEx(clusterName, vcClusterConfigSpecEx);
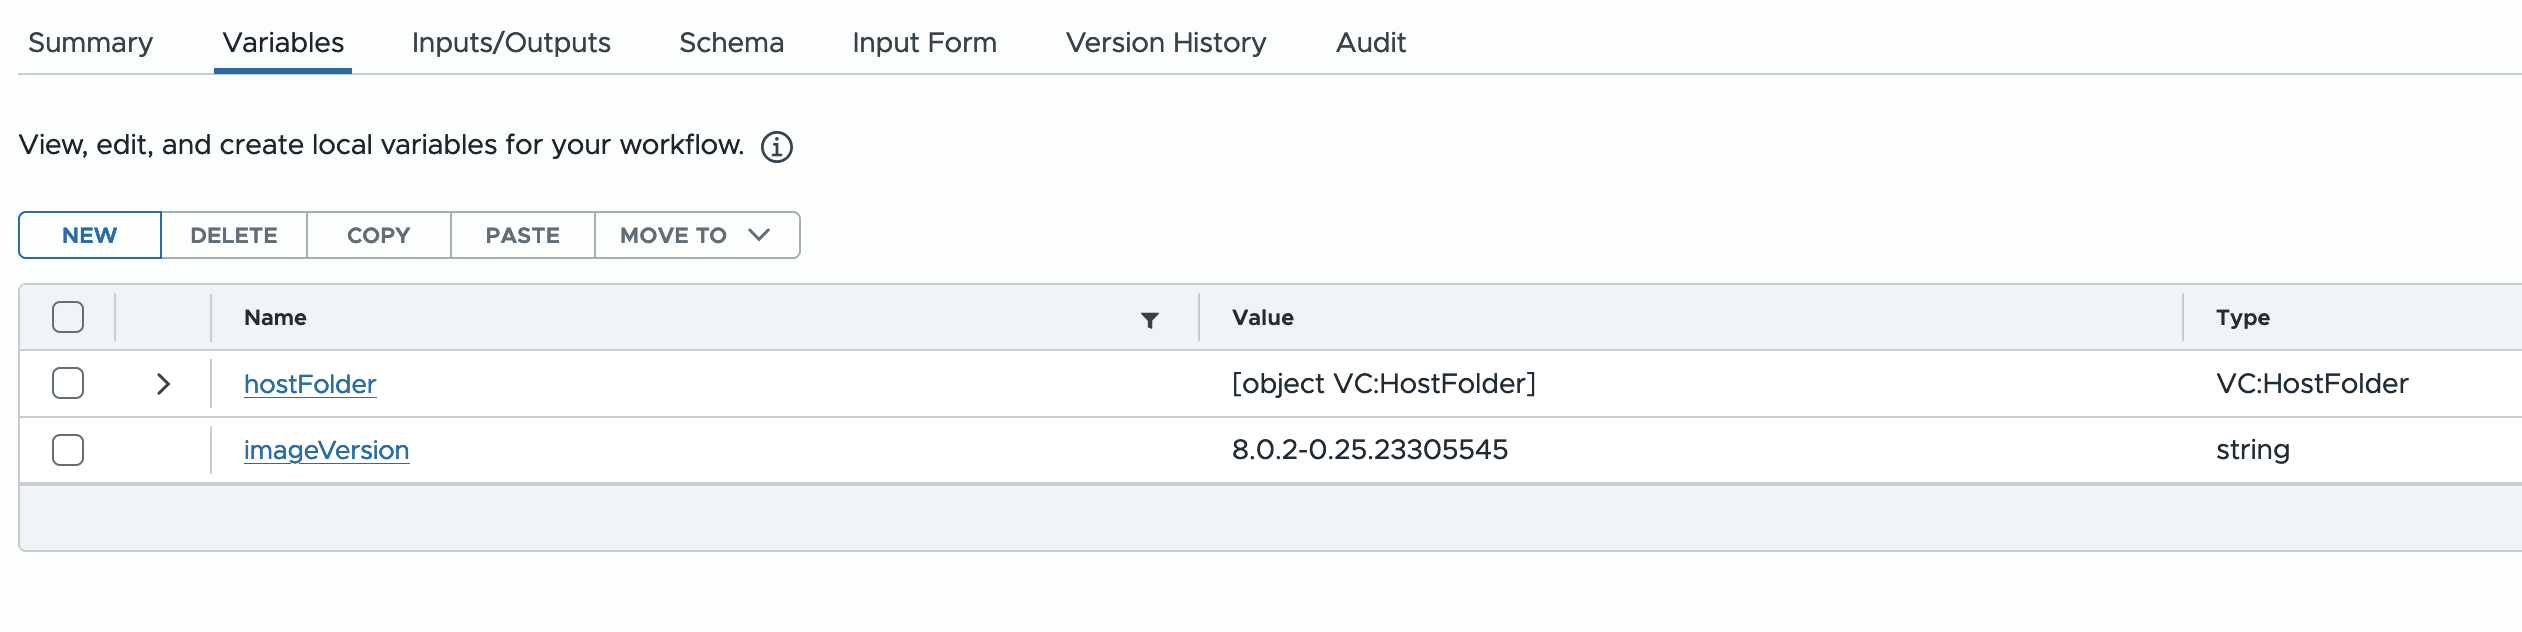
To combine all together, let's create a simple workflow with one scriptable task. Create two variables: hostFolder and imageVersion. Select some host for hostFolder and set the desired ESXi image version.
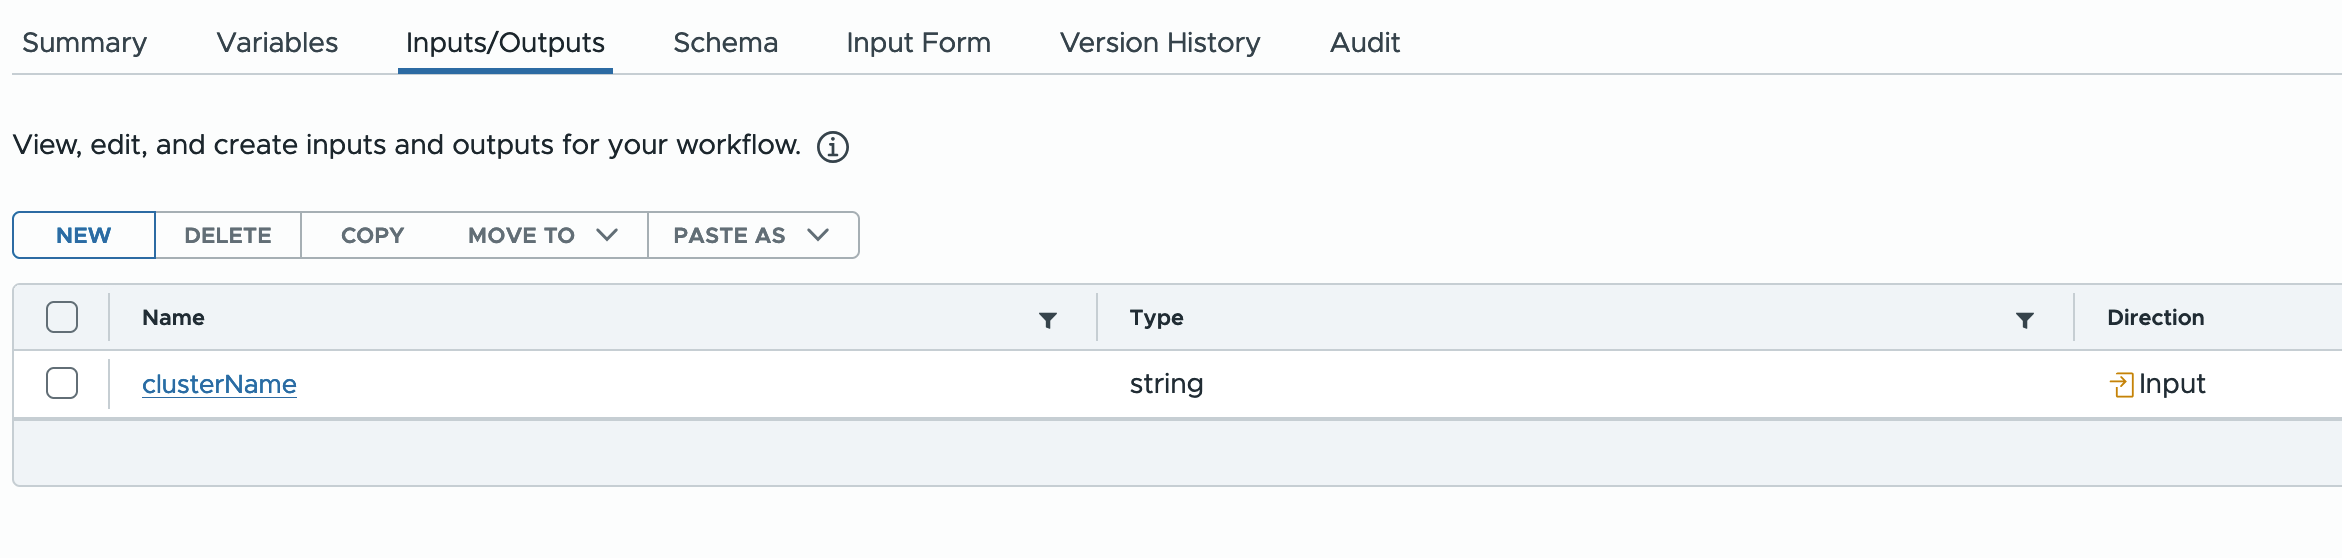
Create input called clusterName.
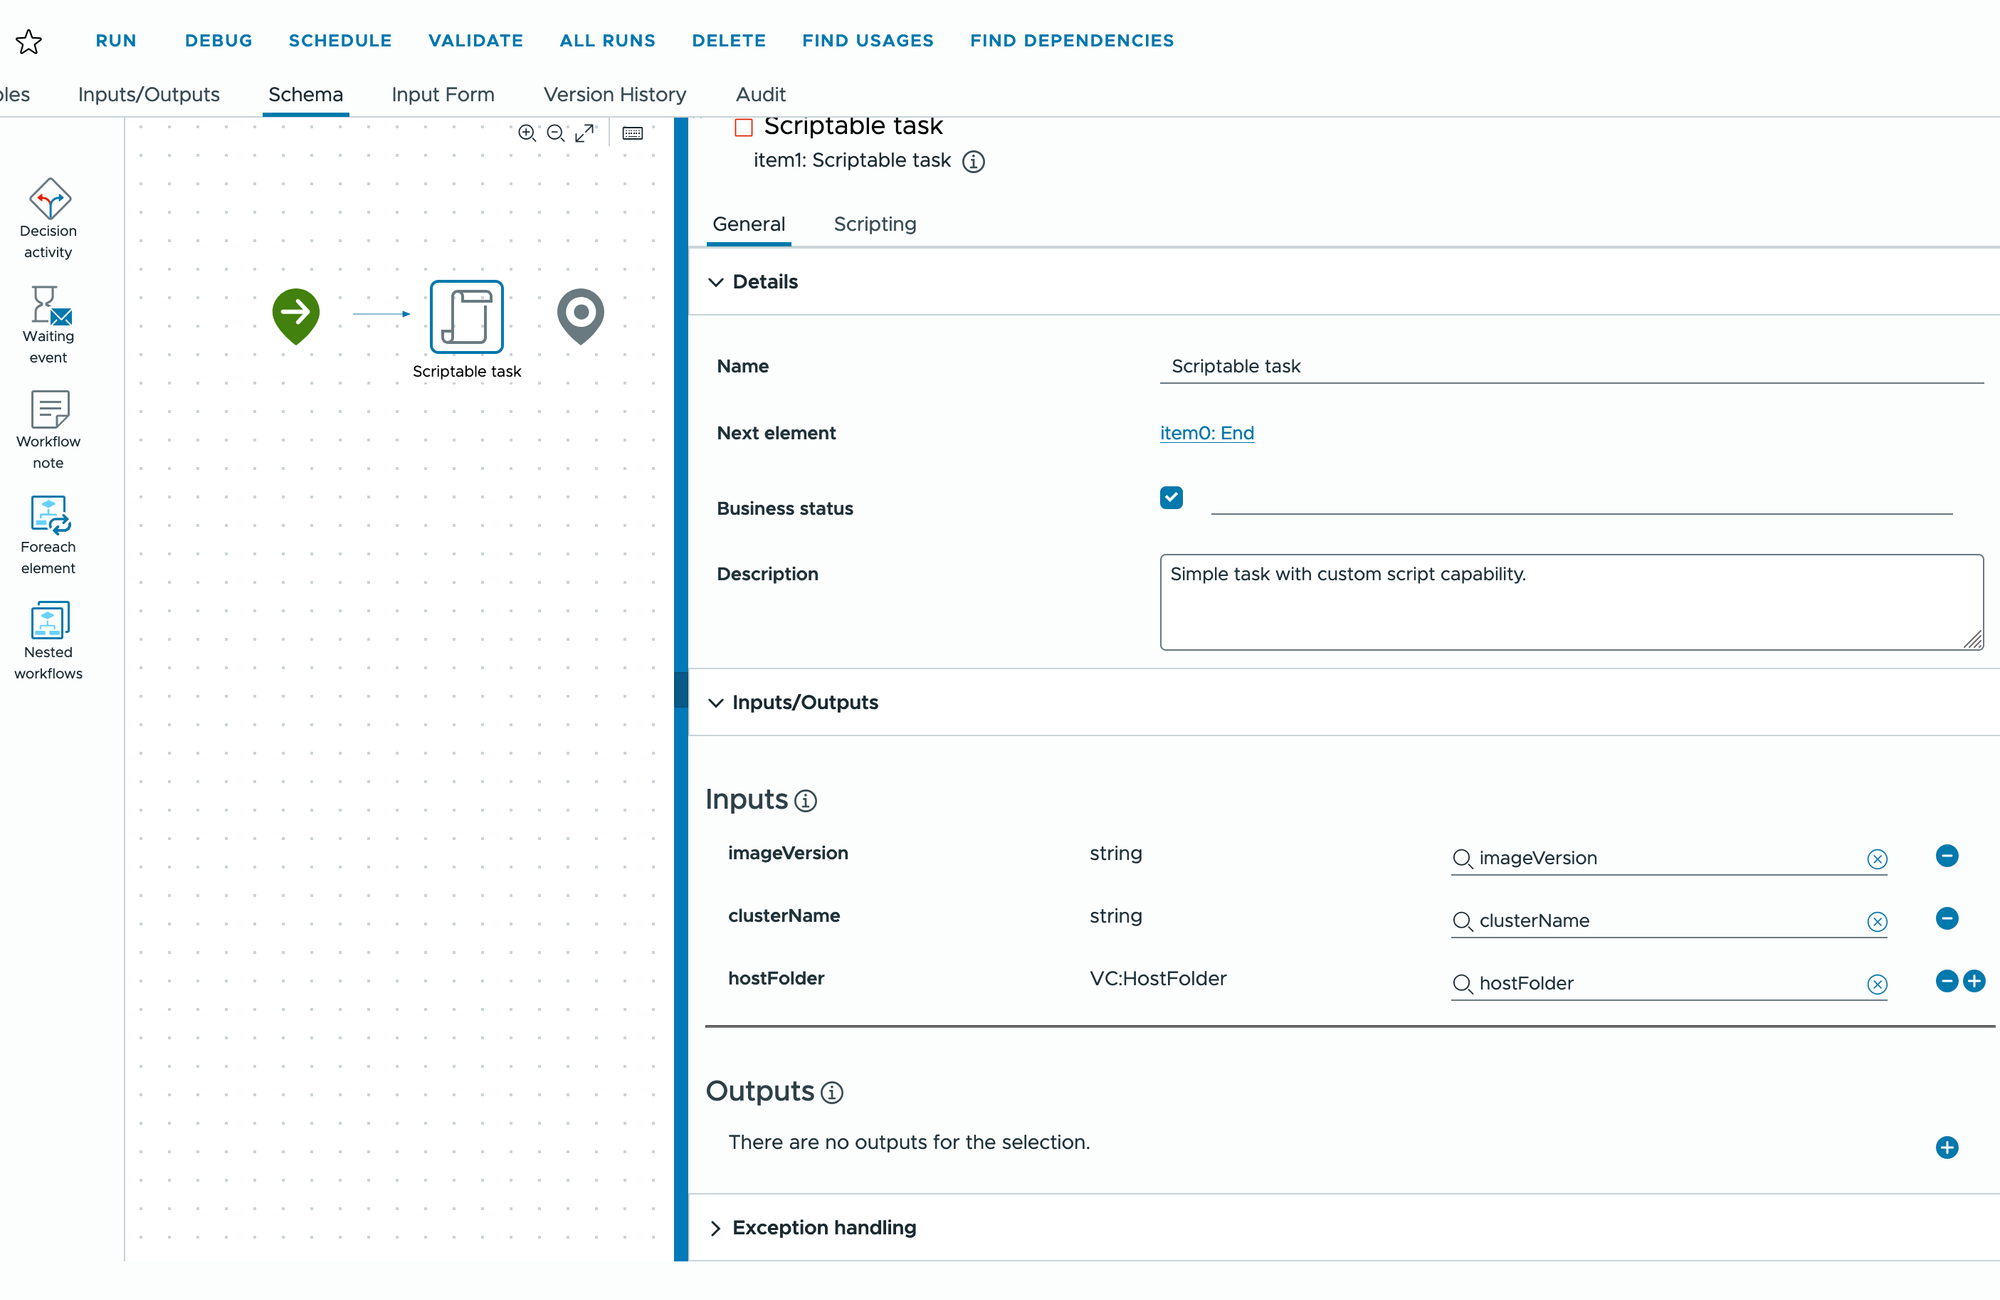
Bind the variables to the scriptable task.
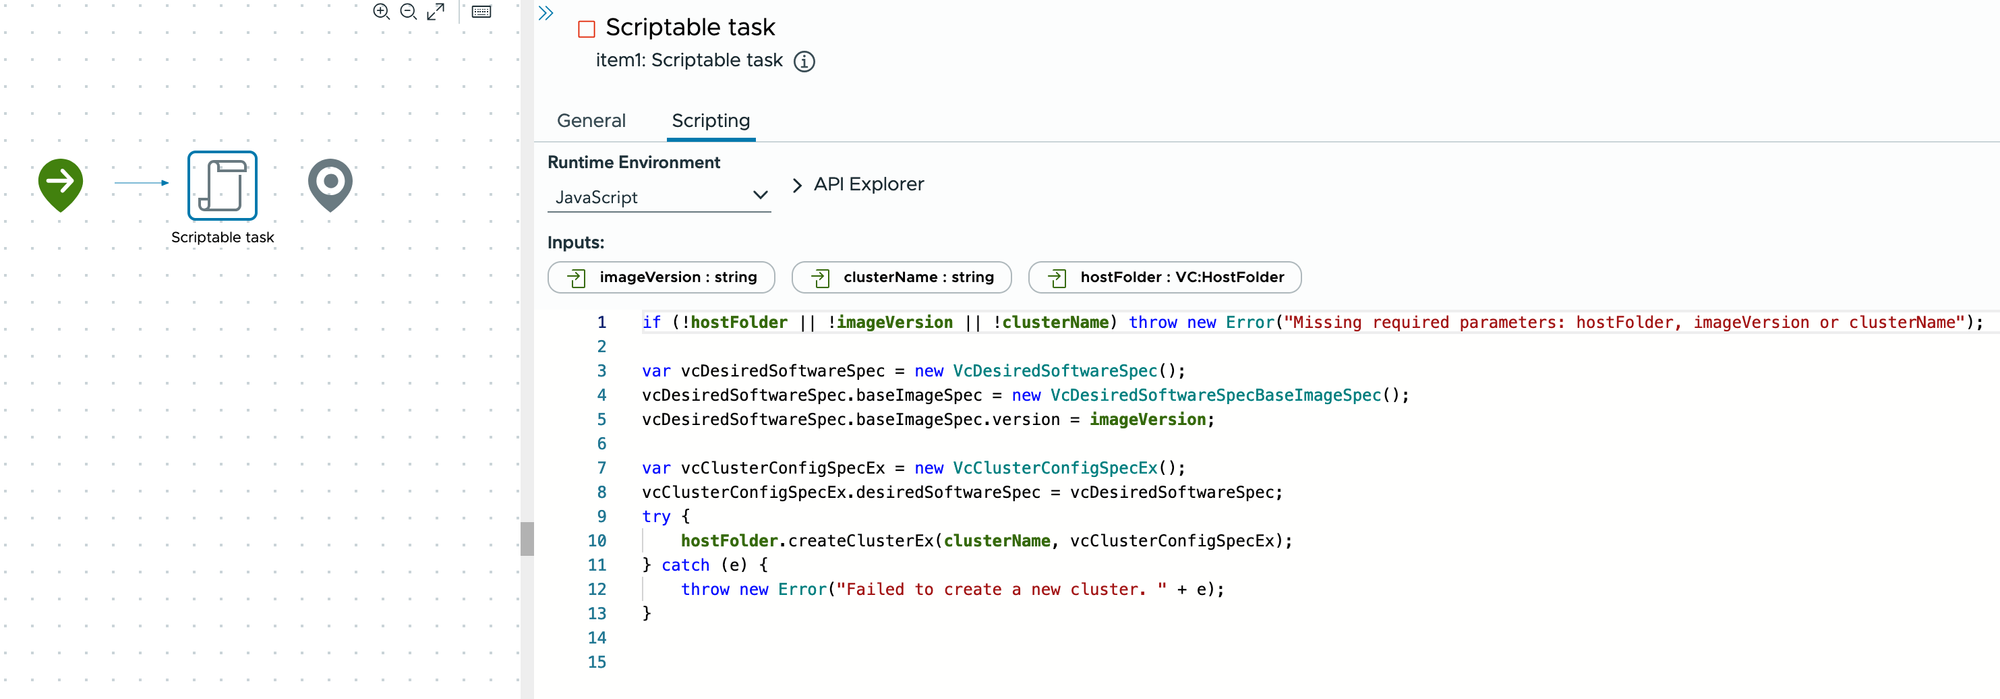
Write our final code.
if (!hostFolder || !imageVersion || !clusterName) throw new Error("Missing required parameters: hostFolder, imageVersion or clusterName");

var vcDesiredSoftwareSpec = new VcDesiredSoftwareSpec();
vcDesiredSoftwareSpec.baseImageSpec = new VcDesiredSoftwareSpecBaseImageSpec();
vcDesiredSoftwareSpec.baseImageSpec.version = imageVersion;

var vcClusterConfigSpecEx = new VcClusterConfigSpecEx();
vcClusterConfigSpecEx.desiredSoftwareSpec = vcDesiredSoftwareSpec;

try {
    hostFolder.createClusterEx(clusterName, vcClusterConfigSpecEx);
} catch (e) {
    throw new Error("Failed to create a new cluster. " + e);
}
Run the workflow and provide a cluster name.
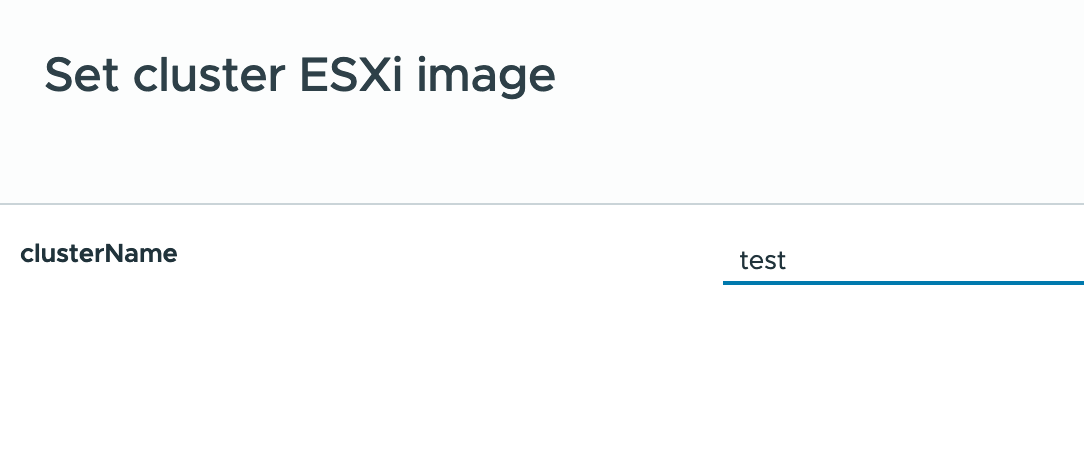
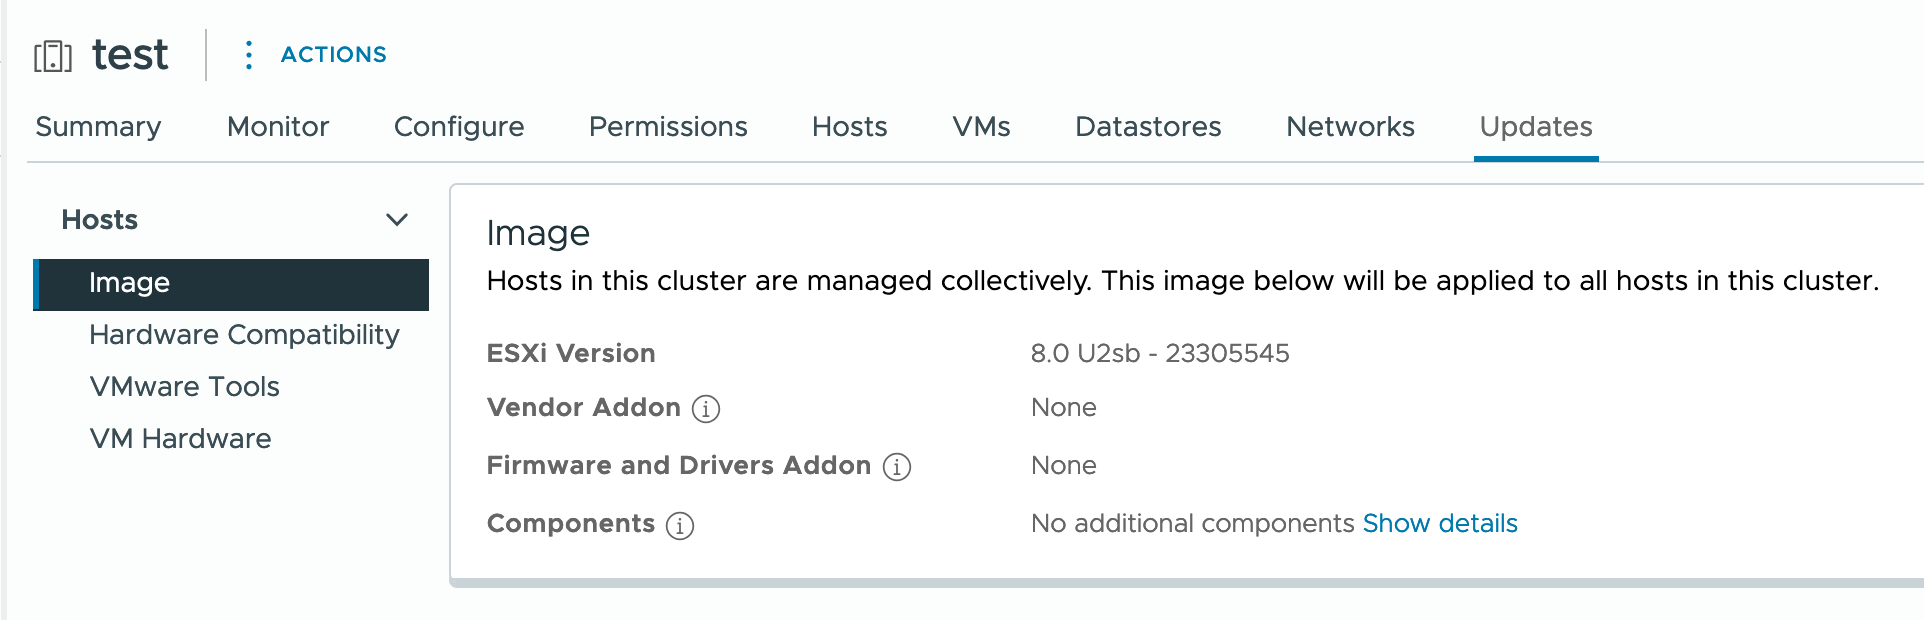
A new cluster with name test was created and the ESXi image version 8.0.2-0.25.23305545 was set.
Summary
As we can see, the process of creating a new cluster is not complicated, but have a few limitations and not obvious initializations.
I also want to hear from you about how I can improve my topics! Please leave a comment with the following:
- Topics you're interested in for future editions
- Your favorite part or take away from this one
I'll make sure to read and respond to every single comment!
